If you’re new to Photoshop, the interface can seem daunting. That is why in today’s lesson, we are going to simplify Photoshop’s Interface. I’ll cover the most important areas, and tell you exactly how you can make the best out of them. Let’s get started!
1. The Canvas

The canvas is the key most important area in Photoshop. It’s where all the magic happens. By default, it’s a pure white rectangle.
2. The Layers Panel
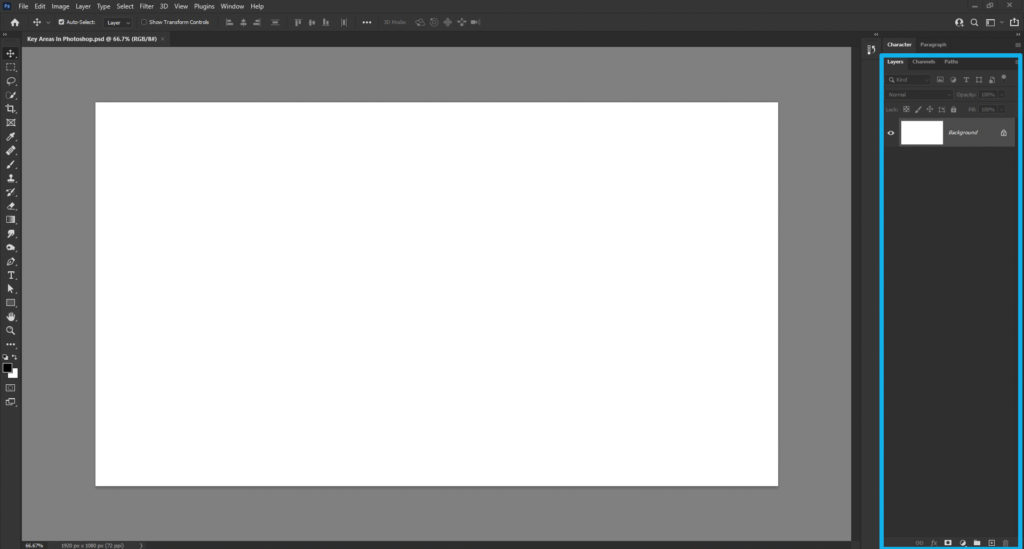
The Canvas and the Layers Panel are Interconnected
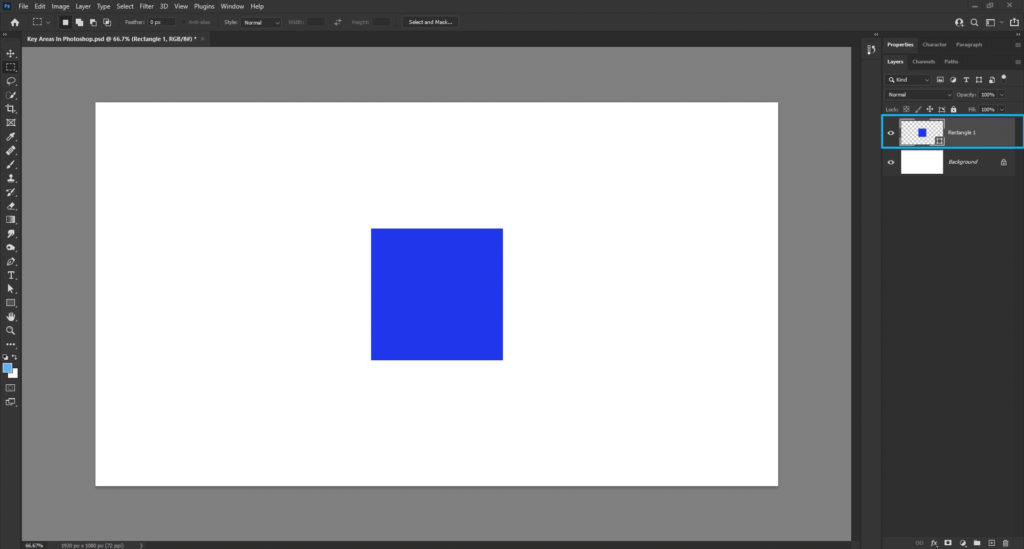
What this means is that whatever changes we make to one area will be reflected in the other. Let me give you an example: If I add a rectangle to my canvas, it immediately shows up in the layers panel as you can see below.
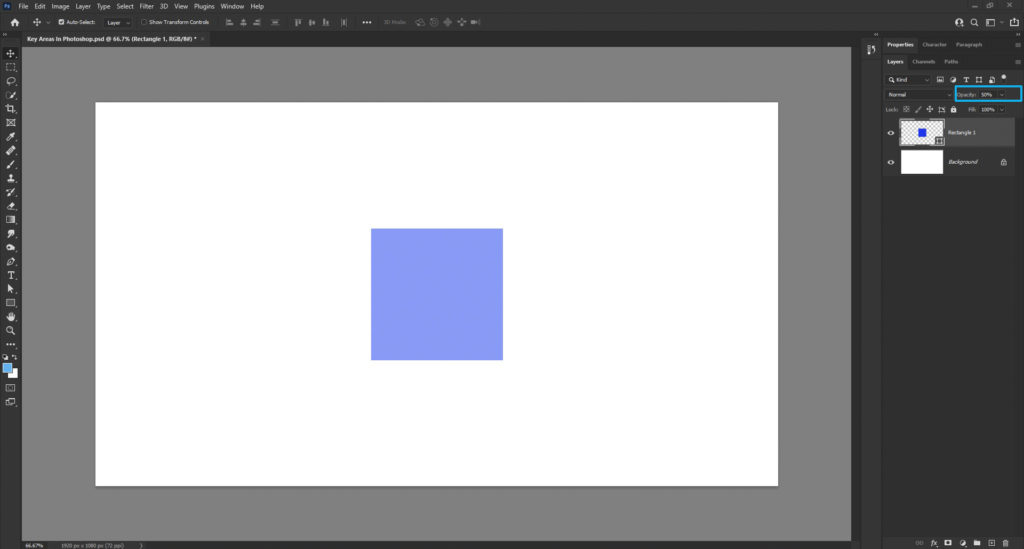
Here’s another example: this time, from the layers panel, I’m going to adjust the opacity of the rectangle from 100% down to 50%. As you can see, the change is immediately visible on the canvas as well.
So to sum it up, the canvas comes 1st, and the layers panel comes 2nd. They are permanently connected and they offer a different perspective of the same thing.
3. Photoshop Toolbar
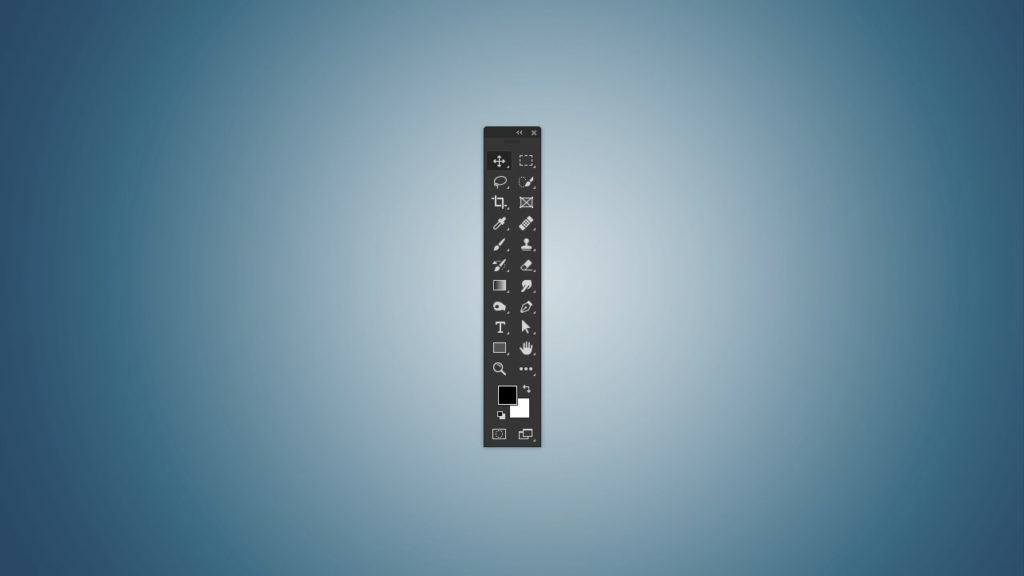
Moving on to the 3rd item on our list, the toolbar. This rectangular bar contains all of Photoshop’s tools. At any given time only 1 tool can be active. How do you know which tool is active? One way to tell is by the dark shade behind it. In the example above, I have the move tool active.
Where to find the toolbar in Photoshop
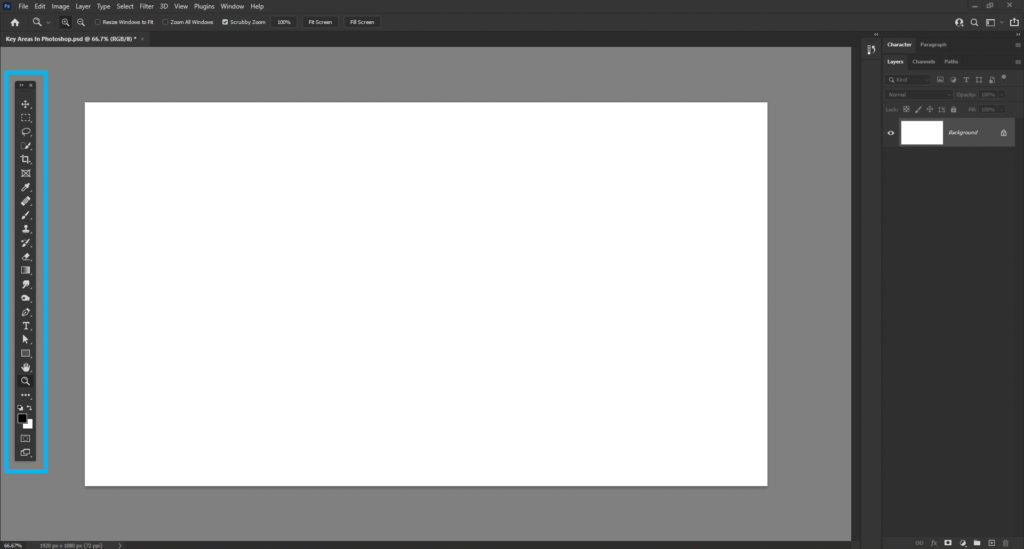
By default, the toolbar is located next to the canvas on the left-hand side of the document window.
How to select a tool in Photoshop
The most straightforward way of selecting a tool is by hovering over it with your mouse, and clicking on it. However, I recommend you access the toolbar by way of your hotkeys. As we mentioned before: the canvas is the hero here so your mouse cursor should hover around that area at all times. if you want to grab a tool, just press the appropriate hotkey.
Some tools have other tools nested in with them
Let’s consider the brush tool. If you click on it and hold, you will get access to a bunch of other tools that were hidden underneath.
4. The Top Menu
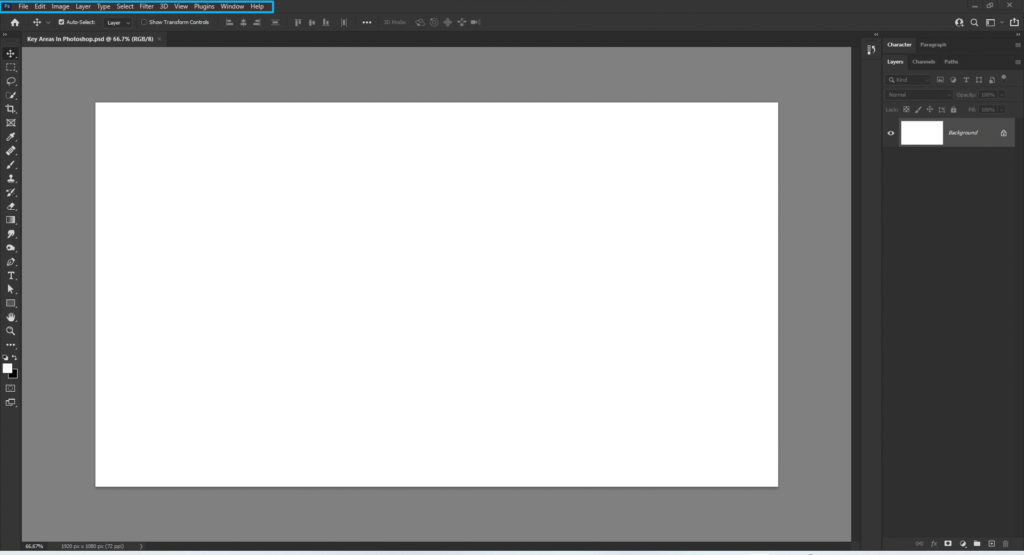
This menu contains all sorts of options and features. It can be used to open and save files, export you work, access some of the adjustment layers and so on. However, most of the time we’ll be using our hotkeys rather than going through the menu settings because it’s that much faster.
5. The Options bar
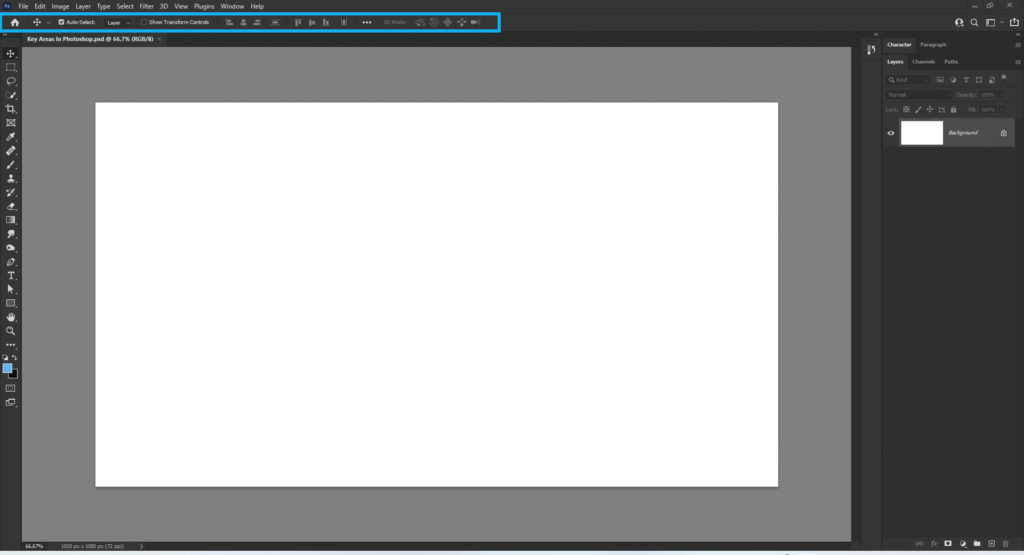
This area always varies depending on the tool you have selected. In short, the options bar is your information zone where you can see and modify the specific settings for each tool. This is fairly important, but it really depends on the type of work you’re doing.
Time for a Quick Recap
The 5 most important areas in Photoshop are:
- Canvas
- Layers Panel
- Toolbar
- Top Menu
- Options Bar
Finally, it’s time to set our workspace. For our web design work, let’s go the top menu and click on Window > Workspace > Essentials (Default). Your workspace should look something like this
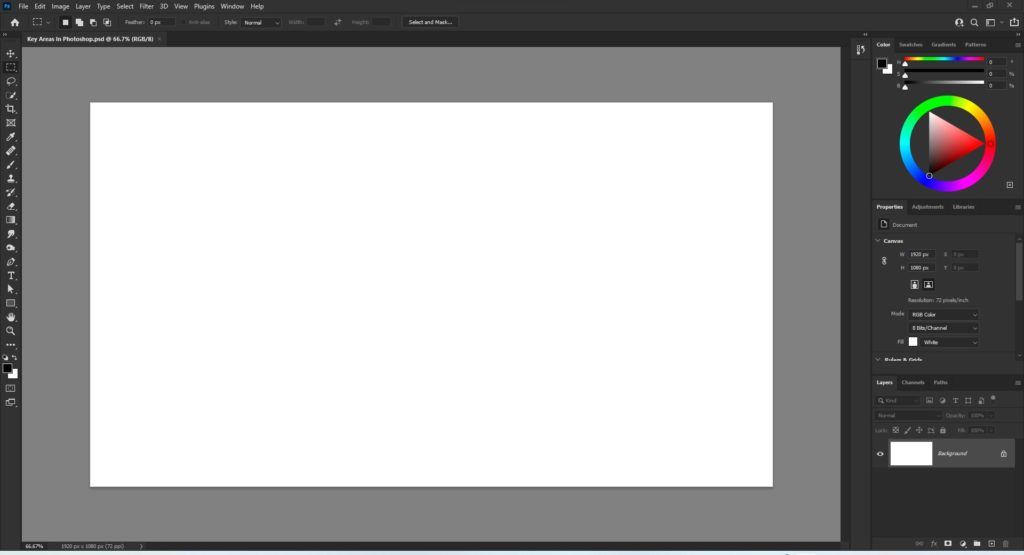
Now let’s delete the Color, Swatches, Gradients, and Patterns by right-clicking one of them. From the drop-down menu select “Delete Tab Group“. Once that’s done, there should be two remaining tab groups. At the top we have Properties; at the bottom, Layers.
Let’s extend the Layers panel by hovering our mouse cursor over the divider between the two panels. You will know you’re at the right spot when your cursor turns into a double-side arrow. Now click, hold, and drag up with our mouse.
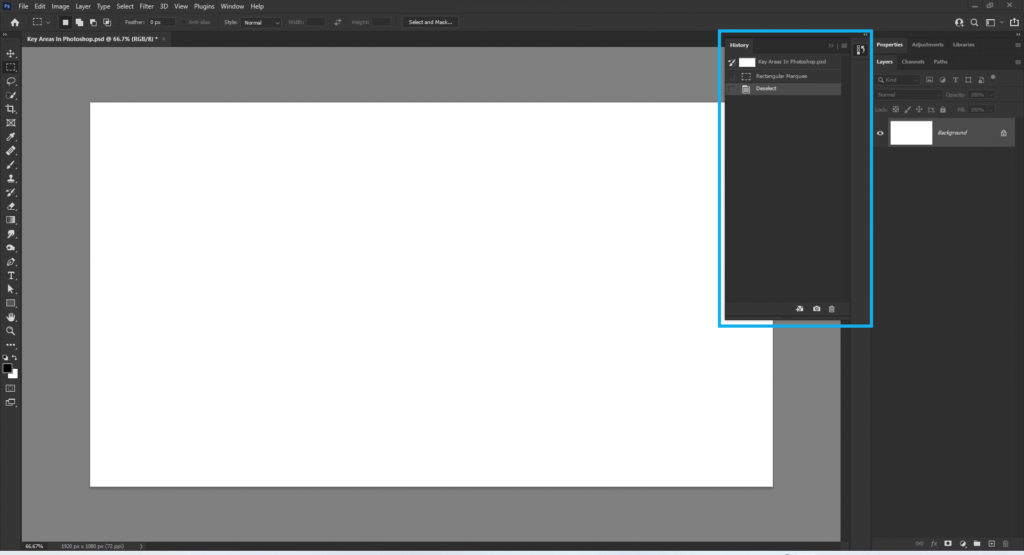
Next up is the history panel, which is also short by default. With it open, simply hover your mouse cursor over to the bottom edge and extend it downwards exactly like we did with the layers panel.
Last but not least, the Character panel. You can open it by following these few simple steps:
- Go to the top menu and click on Window.
- Hover down the drop-down menu until you see the word Character. Click on it and the panel should open right up.
And that’s all there is to it. Now you’re all set and ready to go!
Hope you enjoyed today’s lesson. Be sure to stick around as I’ll be covering more topics in the upcoming days. Happy Photoshopping!